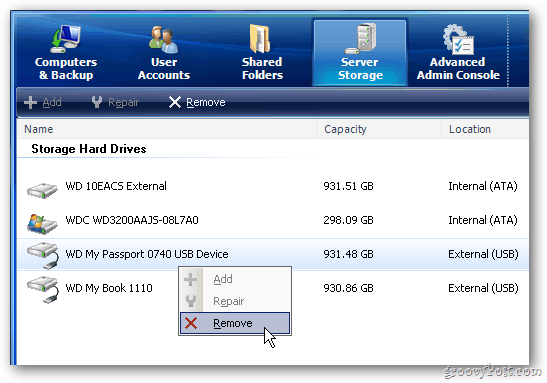
First, open the WHS Console from any PC on your home network. Click the Server Storage tab. From the list, right-click on the drive. Select Remove.
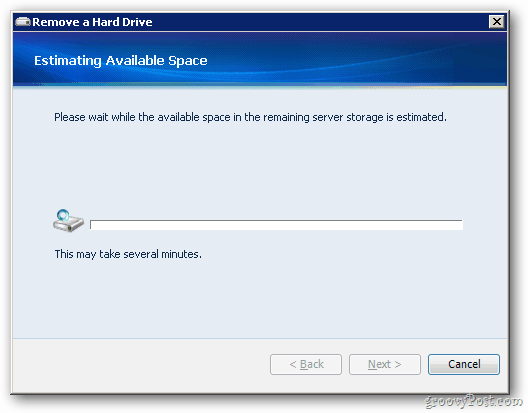
The Remove a Hard Drive Wizard starts. Click Next.
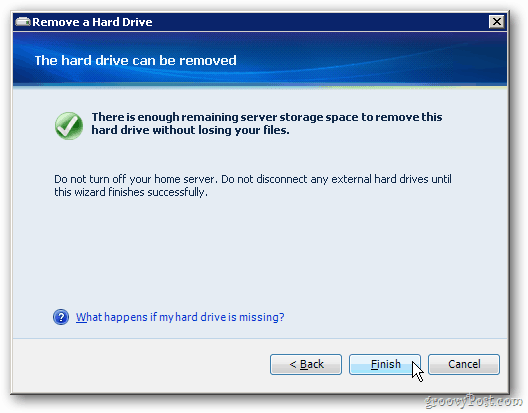
Now WHS will determine if there’s enough available space to copy over the data from the drive to the others you have in the storage pool. If you don’t have enough space, you’ll need to add another drive to your server.
Luckily I have enough remaining space. Click Finish.
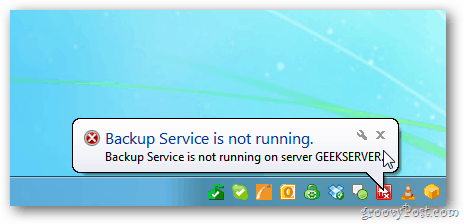
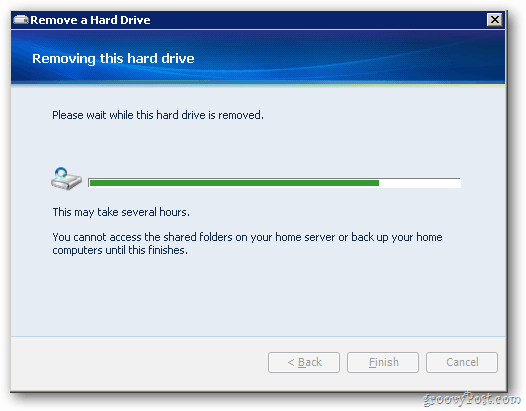
Note: during the drive removal process, the backup service will stop. None of your PCs will get backed up. Don’t try to remove any drives or try to access files from the server. Just let your server do its thing. A progress screen will be displayed. It really does take several hours. Start the process before you go to work or bed – you don’t need any interaction at this point anyway.
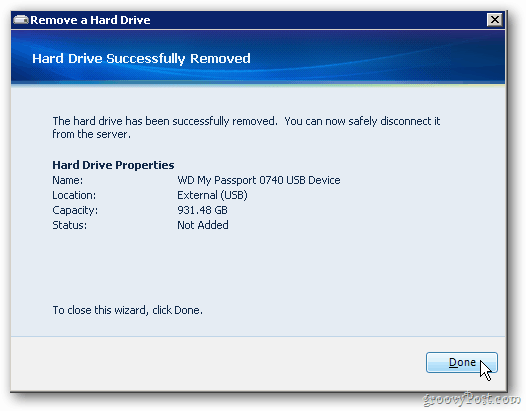
Success. You’ll see the following message when the drive is removed. Click Done.
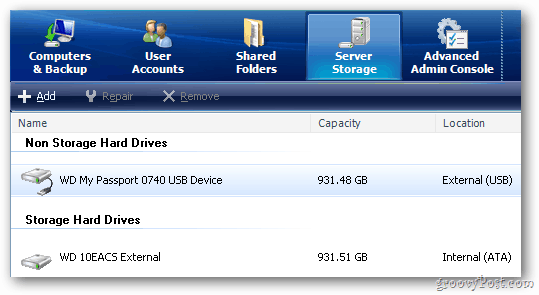
Back in WHS Console, under Server Storage, you’ll still see the drive is connected. It’s not active or set up for storage. Now it’s safe to unplug the drive from the server.
After removing the drive, you’ll see a graphic showing that you now have less storage space.
That’s it. Make sure to use this process to remove a drive. If you just pull it out to disconnect, you risk corrupting or even losing data. This is the first in several articles covering WHS. We haven’t covered Windows Home Server on Groovy Post yet, but that is changing now. Stay tuned — much more to come! Comment Name * Email *
Δ Save my name and email and send me emails as new comments are made to this post.
