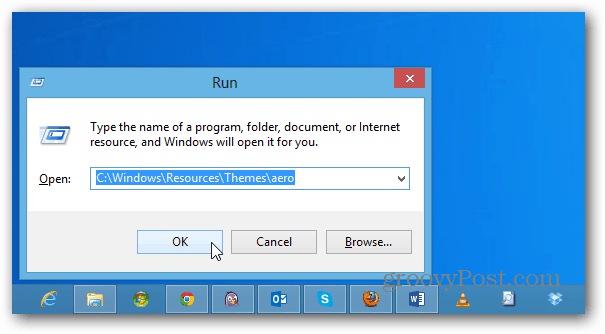
To access the theme, hit the keyboard shortcut Windows Key + R and type: C:\Windows\Resources\Themes\aero then hit Enter or click OK.
Now copy aerolite.msstyles.
Then paste it to the Themes folder (the parent file one level up). You’ll get the following message about admin permissions – just click Continue. After that copy aero.theme to the Clipboard.
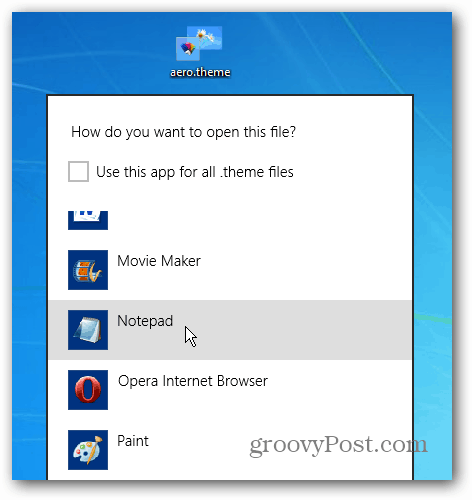
Then paste it to the desktop (so you have the ability to edit it). Right click the file and open it with Notepad.
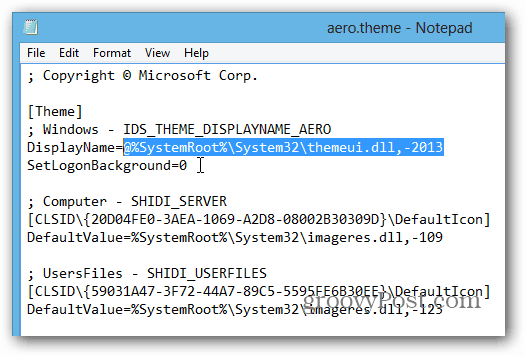
On the fifth line down, under [Theme] you’ll see “DisplayName=@%SystemRoot%\System32\themeui.dll,-2013” highlight it and delete it.
Then change it to DisplayName=Aero Lite
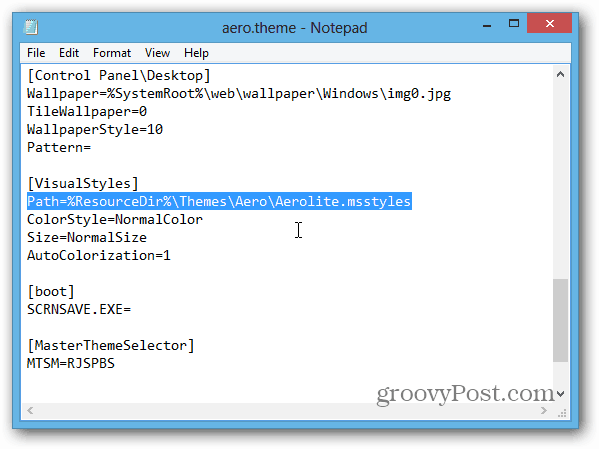
Now scroll down further and under [VistualStyles] change the path to: Path=%ResourceDir%\Themes\Aero\Aerolite.msstyles
Now go to File > Save As then set the Save As Type field to All Files (.) and File Name as aerolite.theme.
Copy the saved theme to C:\Windows\Resources\Themes folder. Again you’ll get the message you had earlier about Admin permissions, just click Continue.
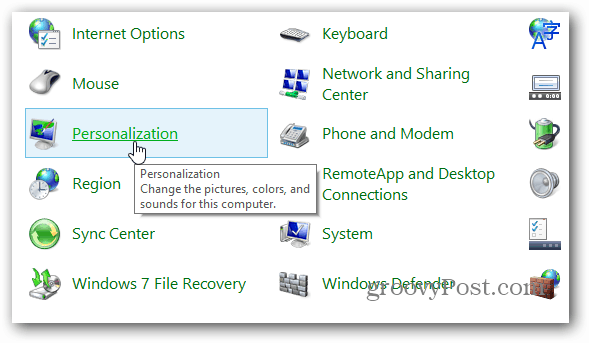
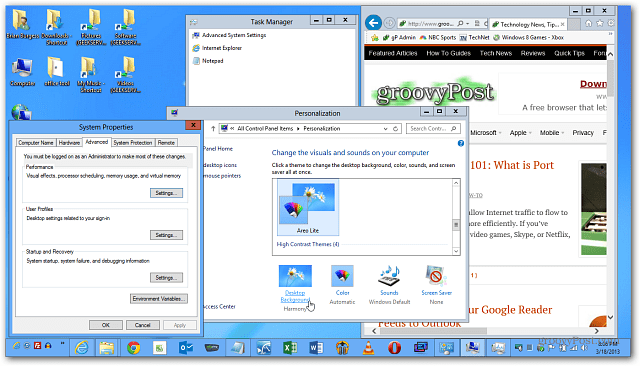
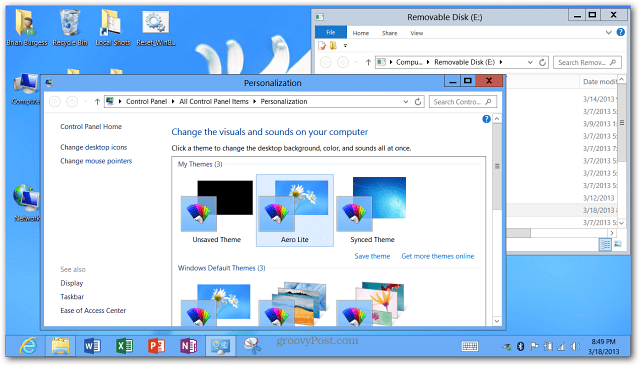
Right click on the desktop and select Personalize from the Context Menu or open Control Panel and select Personalization from there.
Under Installed Themes you’ll see the new Aero Lite theme. Just click it to activate the your new Theme.
The Aero Lite Theme isn’t hugely different, but you’ll notice subtle changes with the buttons, window outlines, System Tray, and a change in window border contrasts.
It takes a bit of work to get this Theme created. But once you have it created, you can stick it on a flash or network drive and use it on your other Windows 8 computers including the Surface RT.
Comment Name * Email *
Δ Save my name and email and send me emails as new comments are made to this post.
